Mounting Options
Below are recommended mounting options depending on your deployment scenario.
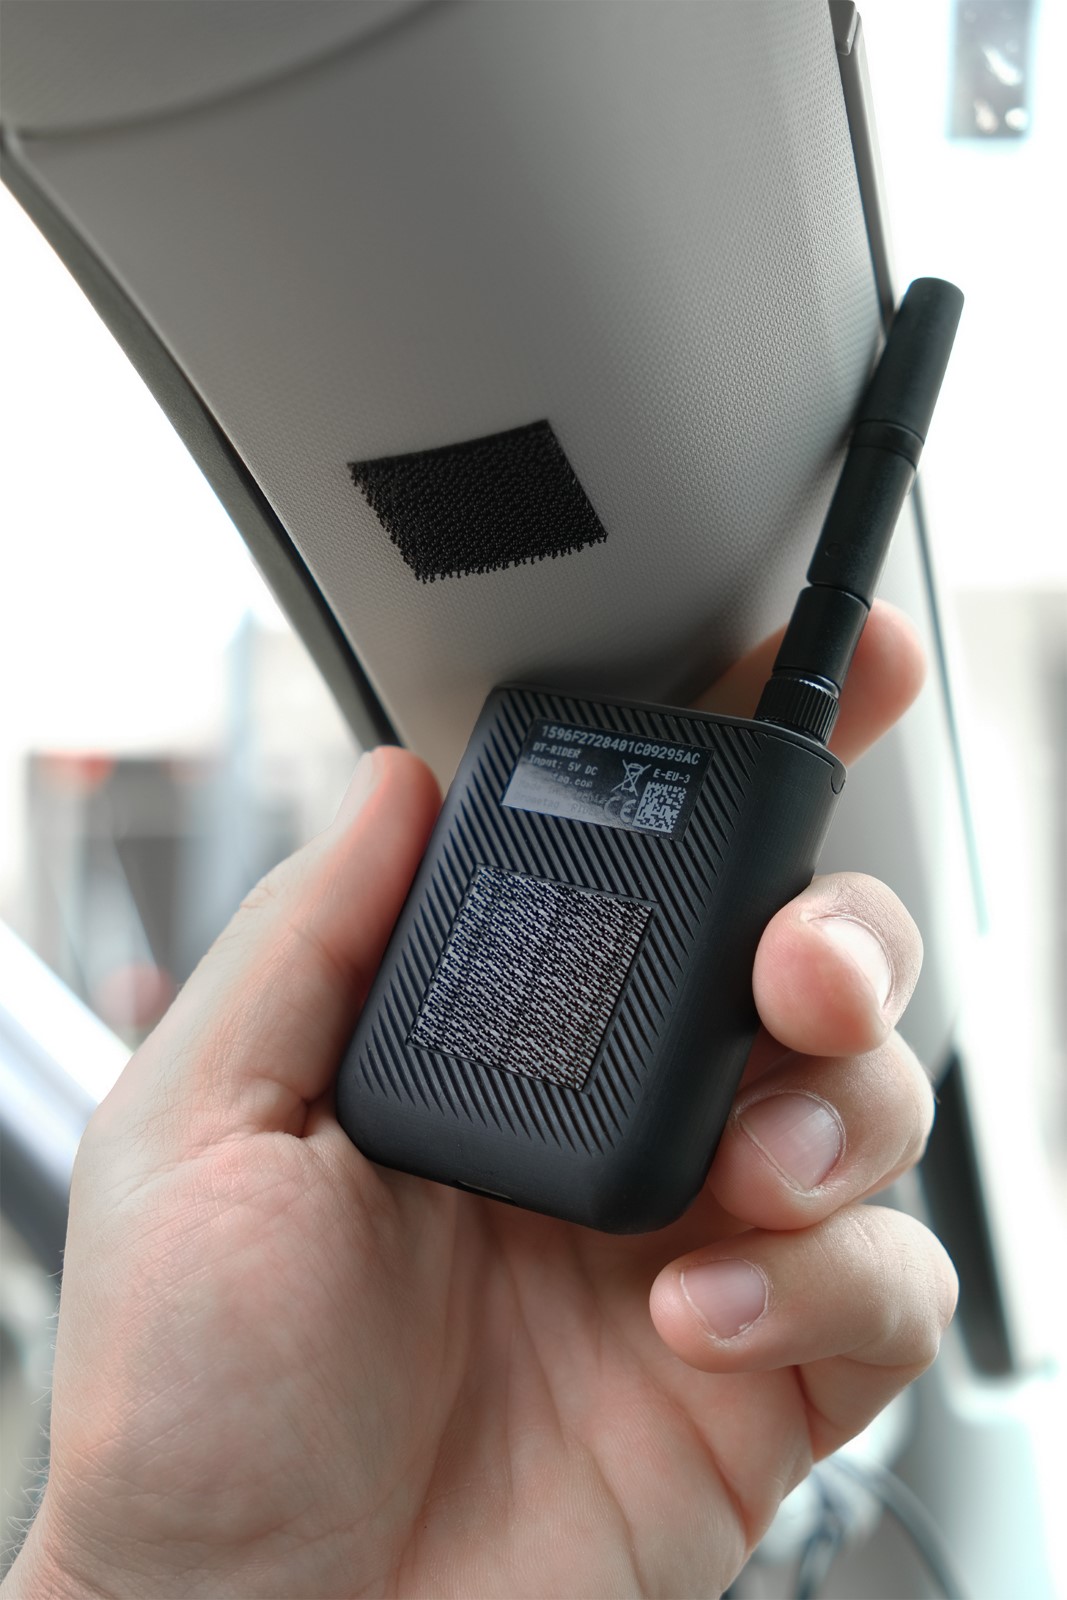
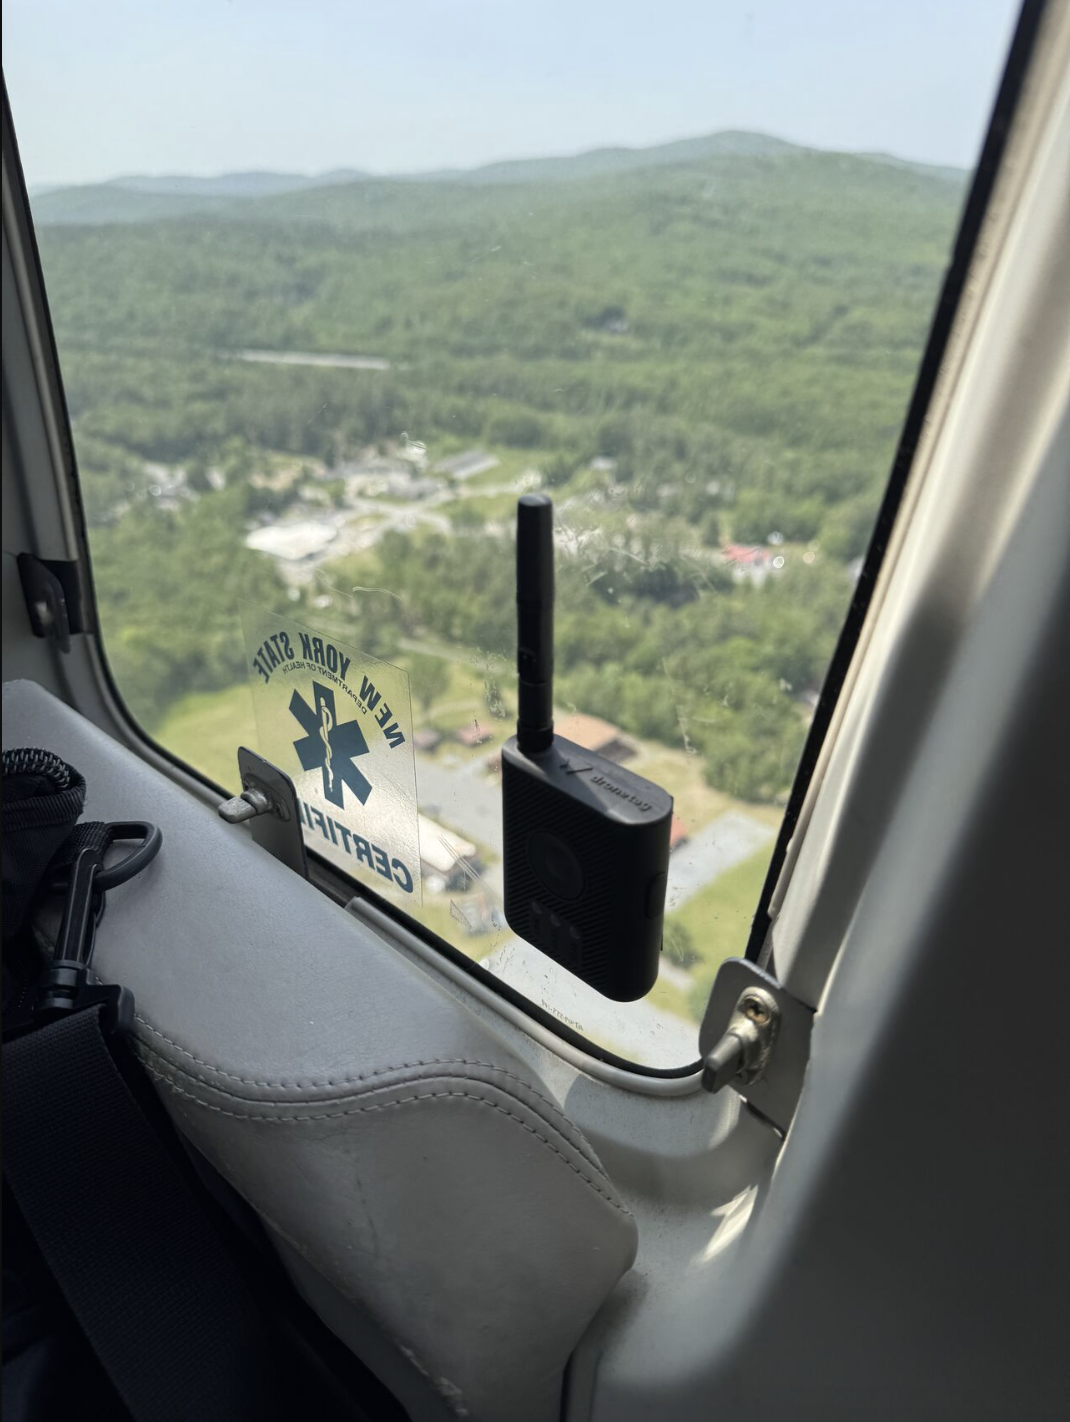
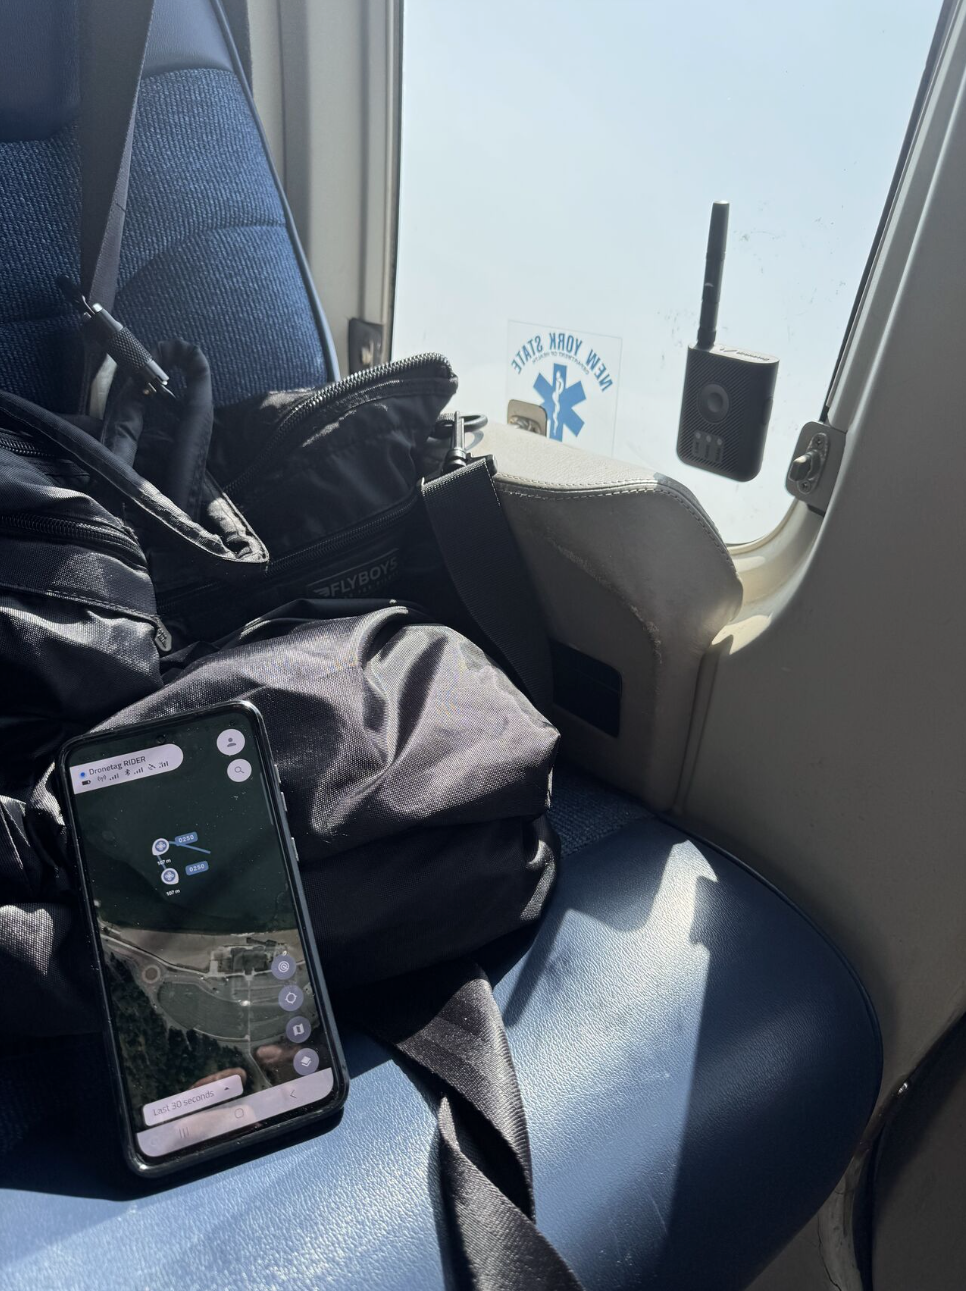
Quick Mount - Adhesive 3M Dual Lock
Use 3M Dual Lock to create a strong yet removable snap-on mount.
- How it works: Stick one piece on the back of the RIDER and the other on the target surface (e.g., metal, powder-coated surfaces, or many plastics). Press the two pieces together until you feel/hear a click as the interlocking stems engage and the mount holds firm.
- Removal: Lift from one corner to detach.
- Where it fits: car dashboard, interior front corner pillar (where the windshield meets the front side window), cockpit/flight deck panels, windows, and other flat, smooth surfaces.
tip
Make sure to degrease both surfaces before applying for optimal hold.
General Recommendations
- Orientation: Keep the antenna upright with a clear view of the sky for best reception.
- Interference: Avoid placing the antenna directly behind large metal panels or very close to high-power electronics or close to sources of 2.4 GHz Wi-Fi or Bluetooth signals.
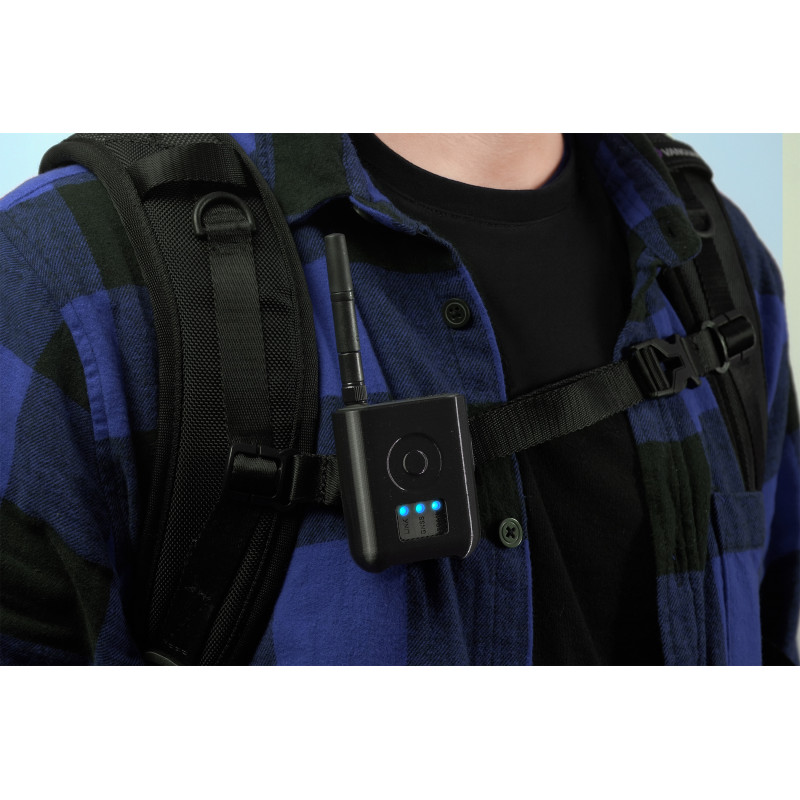
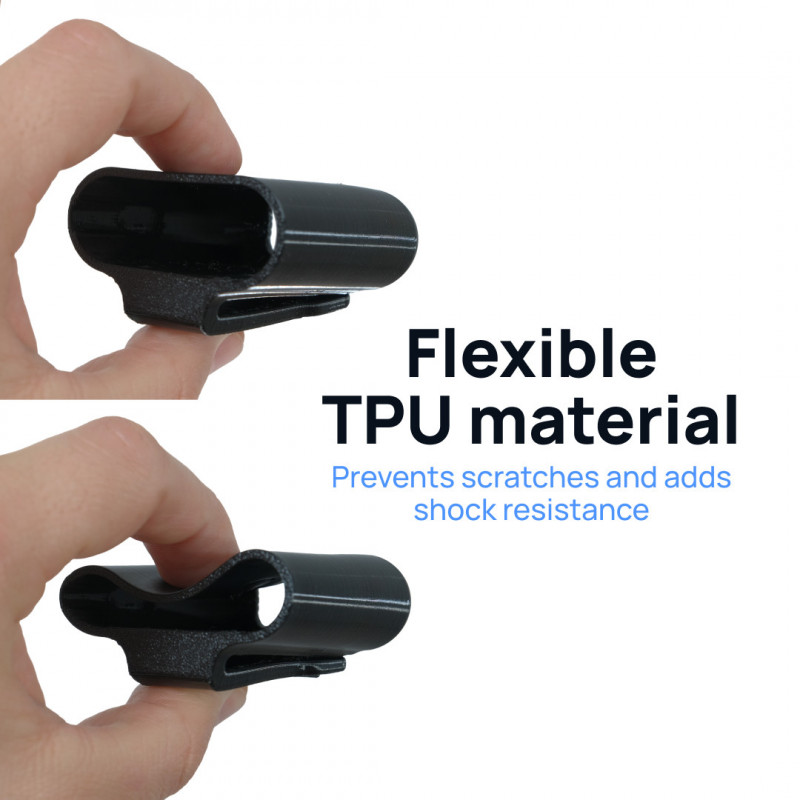
On-Body Carry - RIDER Case
The custom 3D-printed RIDER Case offers a secure, lightweight (≈31 g) way to carry the device on your gear in the field.
- MOLLE-compatible Clip: attach to a belt, backpack strap, or tactical vest.
- Easy Assembly: slide RIDER into the clip until it fits snugly.
- Full Access: precise openings for the button and antenna.
- Flexible TPU material: enhances grip, protection and shock resistance.
- Snap Lock: safety mechanism on the back clip allows user to attach RIDER to belts, vests, harnesses or straps.
tip
For best reception, keep the antenna vertical with a clear view of the sky.
SAFETY note
Make sure the case is firmly attached. Dronetag is not liable for damage or loss.

General Recommendations
- Orientation: Keep the antenna upright with a clear view of the sky for best reception.
- Interference: Avoid placing the antenna directly behind large metal panels or very close to high-power electronics or close to sources of 2.4 GHz Wi-Fi or Bluetooth signals.
Vehicle Setup – 2.4 GHz Omnidirectional Magnetic Antenna
For vehicle-based operations, keep the RIDER inside the cabin and use an external antenna for robust reception.
- Antenna: 2.4 GHz Omnidirectional Magnetic Antenna
- Connector: SMA male
- Cable length: 1 m
- Placement: car roof or other metal surfaces
- Wind resistance: when properly attached, the antenna can withstand speeds up to 140 km/h (87 mph).
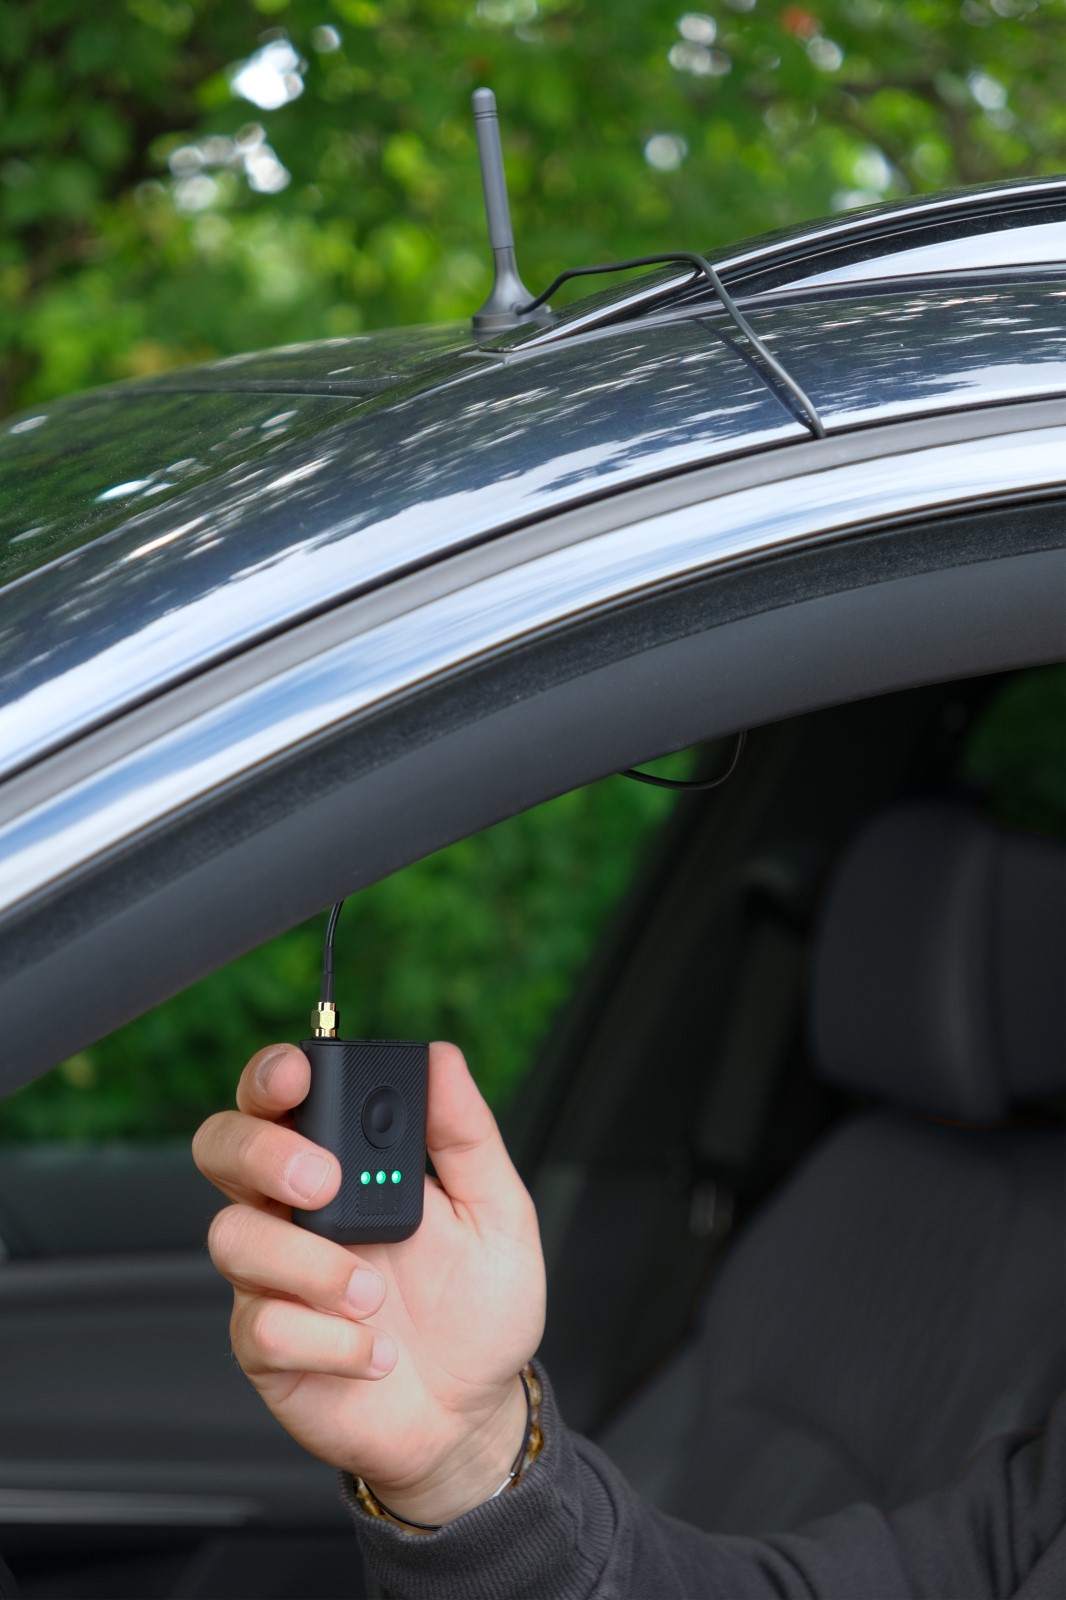

INSTRUCTIONS
- Clean the roof area; place the magnetic antenna on the metal surface.
- Route the antenna cable into the cabin and connect it to the RIDER’s SMA port.
tip
Combine the magnetic antenna with the 3M Dual Locks on RIDER for an ideal car setup.
General Recommendations
- Orientation: Keep the antenna upright with a clear view of the sky for best reception.
- Interference: Avoid placing the antenna directly behind large metal panels or very close to high-power electronics or close to sources of 2.4 GHz Wi-Fi or Bluetooth signals.
- Cabling: Route the antenna cable so it’s not pinched or under tension; leave a small strain relief near the SMA connector.
- Ground-plane Dependent Design: The antenna requires a conductive surface beneath it to function correctly. Without a ground plane, performance is reduced.